You can put an FFC cable onto a PCB by following steps. Many people have trouble removing the insulation without hurting the thin wires. Placing the FFC into a ZIF socket is tricky because it can bend easily. You need to be patient when working with the delicate cable.
- Removing the insulation needs steady hands.
- Putting the cable into the connector needs soft pressure.
- Handling the cable’s bendiness helps stop damage.
You will also learn how to check which way the cable goes and how to make the connection strong. Tips for LIF and ZIF connectors, and soldering, make this guide good for beginners and people with some experience.
Key Takeaways
- Use the right tools like precision tweezers. Use a fine-tipped soldering iron for safe installation. These tools help you install FFC cables well.
- Handle FFC cables gently. This stops the thin wires from bending or breaking. Always check which way the cable goes before you put it in the connector.
- Pick the correct connector type for your project. Choose LIF or ZIF to make sure the connection is strong and works well.
- Lock the cable in place to secure the connection. This helps the signal stay good and makes your device last longer.
- Check and clean your connections often. This stops damage and helps your device work its best.
FFC Cable and PCB Tools

Required Tools
Get your tools before you start working. The right equipment keeps your cable and PCB safe. Here are the tools you need:
- Small Phillips or flathead screwdriver
- Precision tweezers
- Fine-tipped soldering iron (if you plan to solder)
- Solder wire and flux
- Wire cutters or scissors
- Magnifying glass or head loupe
- ESD wrist strap (to prevent static damage)
Tip: Work on a clean surface with no static. This keeps your FFC connectors and PCB safe from dust and static.
Choosing FFC/FPC Connectors
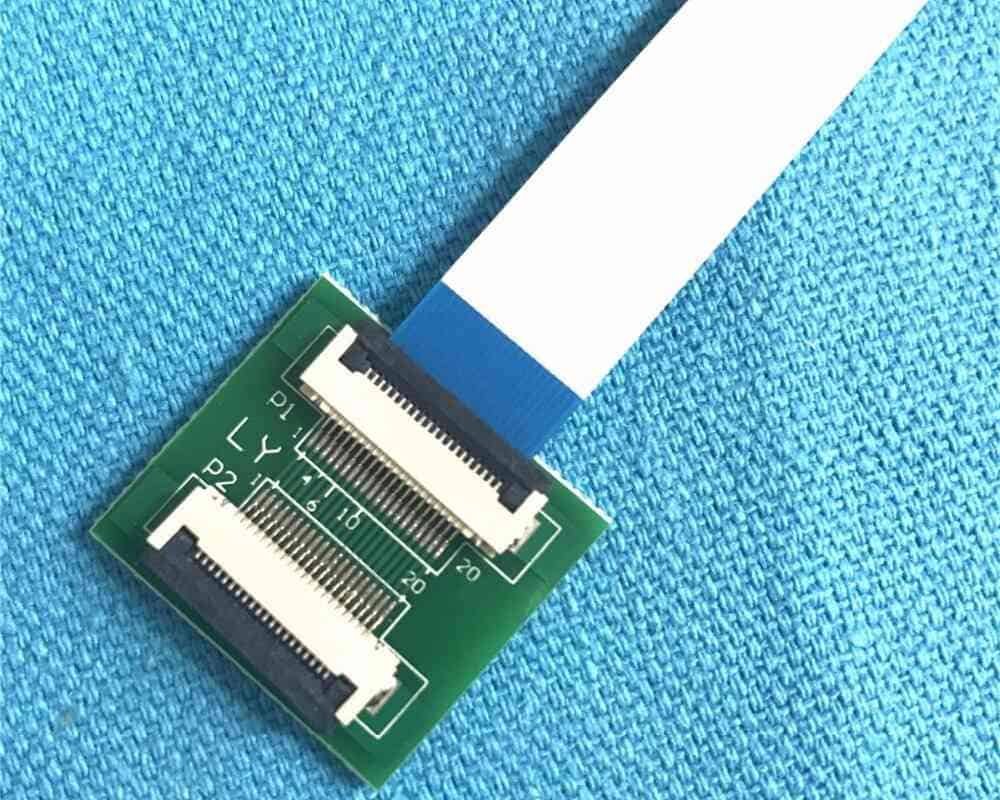
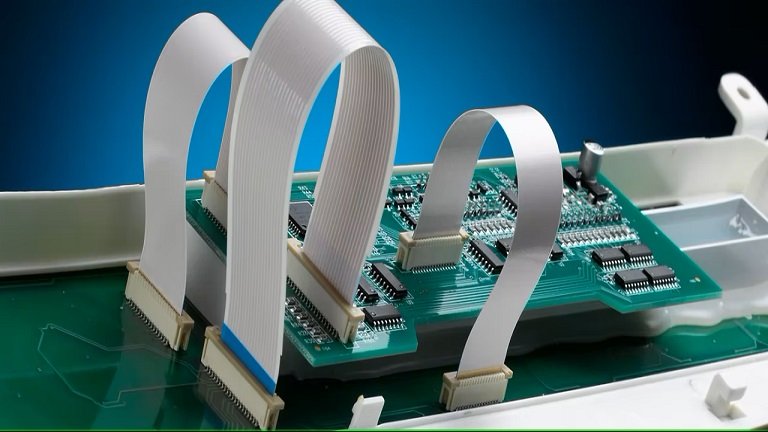
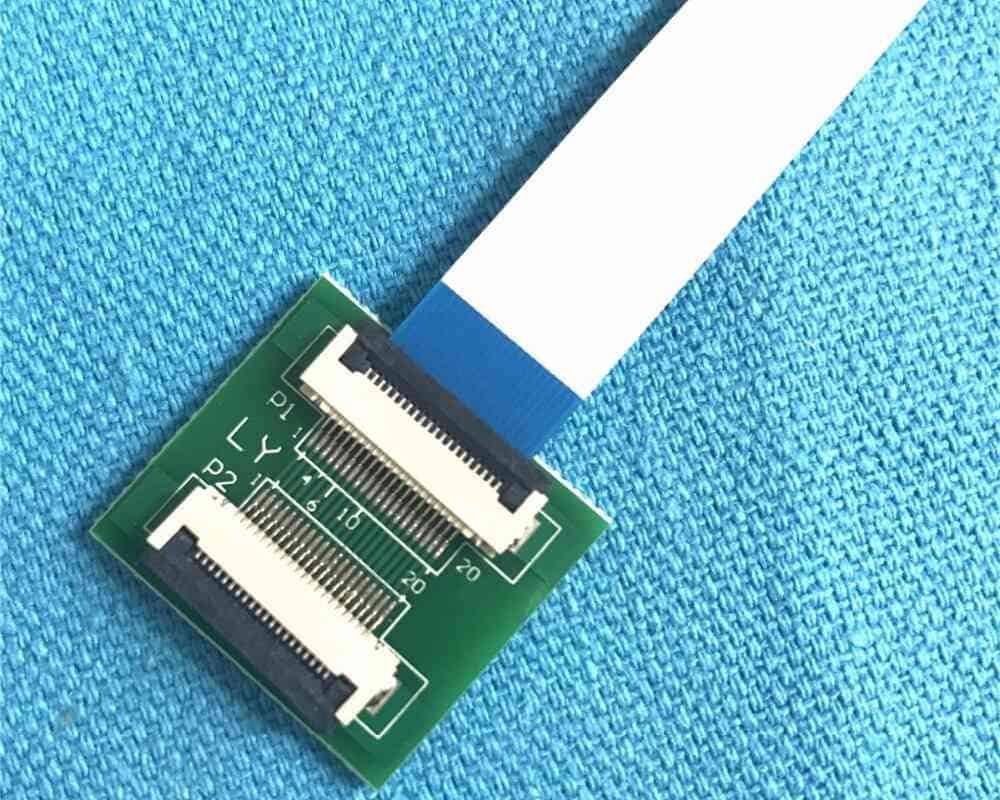
Picking the right connector helps make a strong connection. There are many connector types. The most common for FFC cables are LIF and ZIF connectors. These connectors help you attach flexible pcb connectors to your board.
Here is a table that shows how LIF and ZIF connectors are different:
| Feature | LIF (Low Insertion Force) | ZIF (Zero Insertion Force) |
|---|---|---|
| Insertion Force | Needs some force, but less than standard connectors | Needs zero force during initial insertion |
| Application Suitability | Good for high-density I/O and many applications | Used in devices like computers and medical devices |
| Electrical Capabilities | Can support high power and RF contacts, up to 180 A | Not for high voltages or currents |
When you pick ffc/fpc connectors, think about a few things. These help you choose the best connector and make sure your flexible pcb connectors work well.
- Connector Type: Pick ZIF, LIF, or another type.
- Pitch Size: Look at the space between contact points.
- Number of Contacts: Count how many connections you need.
- Current Rating: Make sure the connector can handle the power.
- Temperature Range: Choose a connector that works in your device’s environment.
- Mounting Style: Pick how you will attach the connector to your board.
- Durability and Reliability: Find connectors that last in your conditions.
- Cost: Stay within your budget.
Some projects use a wire-to-board connector. This connector joins wires right to the PCB. It can work with ffc connectors in some designs.
FFC Cable Installation

Preparation
Get your workspace ready before you begin. Wash your hands and clear away dust. This helps your connection work well. Follow these steps to get set up:
- Look at the ends of your ffc cable. They should be clean and straight. If you see damage or fraying, cut off the bad part with scissors or wire cutters.
- Remove the insulation to the length the ffc cable maker says. This lets the contacts fit right in the connectors.
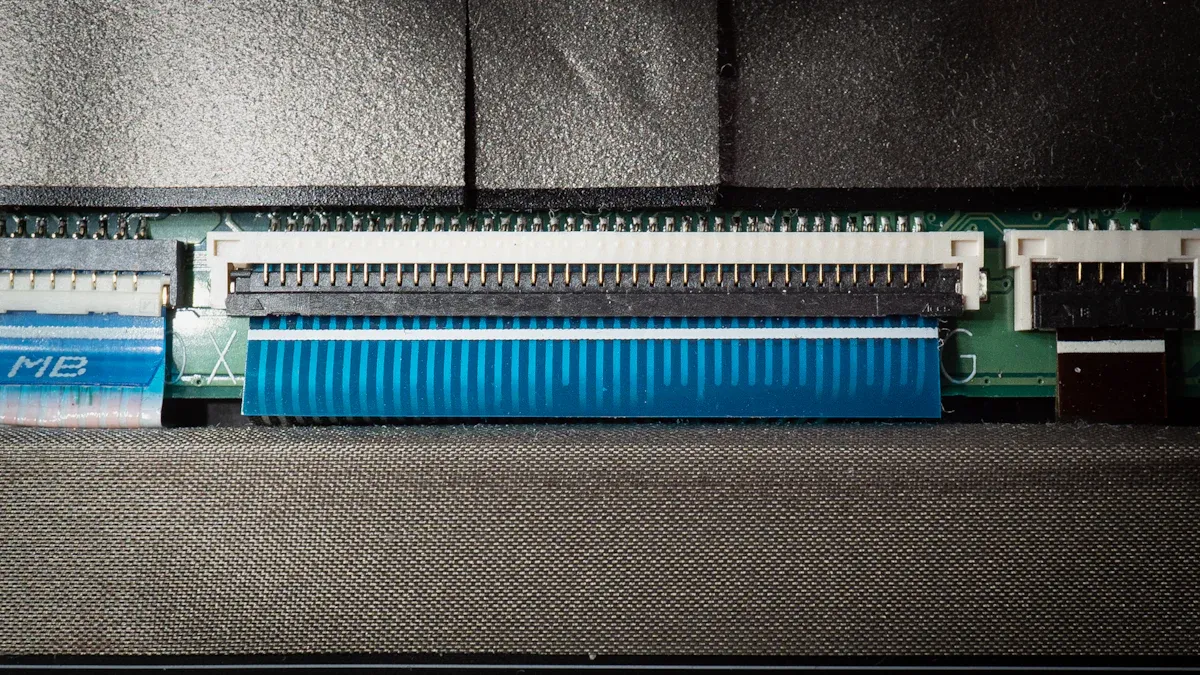
- Line up the cable with the connector’s slot. The metal lines should match the contacts inside.
- Slide the cable gently into the connector. Don’t push hard, or you might bend or break the thin wires.
- Check the connection closely. Make sure the cable is straight and fits tight in the connector.
Tip: Use a magnifying glass to look at your work. Even a small mistake can make a weak connection or hurt your pcb.
Orientation
You need to watch how you put in your ffc cable. The way you insert it changes how well it works. Most connectors have a black mark on the stiffener. This mark helps you line up the cable with the slot.
Here is a table that shows how the way you put in the cable changes things:
| Orientation | Description | Impact on Signal Integrity and Connection Reliability |
|---|---|---|
| Horizontal | Cable comes out flat with the PCB | Good for tight spaces, but can change routing and how well it works |
| Vertical | Cable comes out straight up from the PCB | Good for tall spaces, makes routing easy and can help performance |
Find the black mark on your ffc cable. Match it with the edge of the connector slot. This helps you avoid putting the cable in crooked or too deep, which can hurt the connection.
Insertion
Be careful when you put the ffc cable into the connector. Both LIF and ZIF connectors need gentle handling to keep the cable safe and make a strong connection.
- Use the marks on the stiffener to guide you. These marks help you not push the cable too far or at an angle.
- Keep the cable flat and straight. Don’t let it bend or twist as you put it in.
- Hold the stiffener level with the connector’s slot. This keeps the end conductors safe.
- For ZIF connectors, open the black clip or flap before you put in the cable. You can put the cable in at a small angle, then straighten it as you push it in.
- For LIF connectors, you might need to press a bit more, but don’t force it. The connector uses friction to hold the cable.
Note: If it feels hard to push, stop and check if it’s lined up right. Forcing the cable can break the thin wires or damage the flexible pcb connectors.
Securing Connection
After you put in the cable, you need to lock it in place. How you do this depends on your connector. Here is a table that shows how each connector holds the cable:
| Connector Type | Method of Securing FFC Cable Connections |
|---|---|
| LIF | Uses friction to keep the FPC/FFC in place. |
| ZIF | Has a locking flap that holds the cable without force. |
For ZIF connectors, close the flap gently after the cable is in. This locks the cable so it won’t move. For LIF connectors, make sure the cable sits tight in the slot. The friction keeps it there, but check that it doesn’t slip out.
Locking your connection the right way helps your device last longer. Here are some good things that happen:
- Better signal quality. Shielding keeps signals clear, which is important for fast data.
- Less noise from other electronics. The connection blocks outside signals, so your data stays safe.
- More strength in tough places. The connection keeps out water, dust, and chemicals, so your device works longer.
Tip: Always look at your connection after you lock it. A strong connection means your device will work well and last a long time.
Soldering FFC to PCB
Soldering Steps
You can solder an ffc cable to a pcb using careful steps. This method works well for flexible printed circuit boards and flexible pcb connectors. Start by preparing both the cable ends and the board traces. Tin each part with a small amount of solder. This helps the solder flow and makes a strong connection. You should use a solder masking compound to control where the solder goes. Wrap the plastic part of the cable in wet paper towels. This protects it from heat damage.
Apply liquid flux to the solder joint surfaces and the conductive tracks. Flux cleans the area and removes oxidation. It also helps the solder flow smoothly and prevents cold joints. After you tin the connectors, add a thin layer of flux over the board connectors. This step helps the solder reflow and stick to the fpc terminals.
Choose a fine-tipped soldering iron for this job. Set the temperature just above the eutectic point of the plating alloy, but below the melting point of any thermoplastic connector parts. Silver bearing solder (62/36/2) works best because it melts at a lower temperature. Hold the cable steady with tweezers or clamps. Solder each connector pin one at a time. Check your work with a magnifying glass to make sure each connection looks clean and solid.
Tip: Always keep the soldering iron on its stand when you are not using it. This prevents burns and keeps your workspace safe.
Safety Tips
Soldering ffc cables to connectors can be risky if you do not follow safety rules. You should always wear eye protection to stop solder splashes from hurting your eyes. Use tweezers or clamps to hold wires and connectors. Never touch the soldering iron directly. Make sure your workspace has good ventilation. Solder fumes can cause breathing problems and irritate your eyes.
Wash your hands well after soldering. Lead from solder can stick to your skin and cause health problems. Review the manufacturer’s Safety Data Sheet before you start. Wear gloves and safety glasses for extra protection. Use local exhaust ventilation or a fume hood to keep the air clean. Clean your soldering area after you finish. This stops lead contamination and keeps your workspace safe for the next project.
Note: Lead exposure can cause serious health issues, especially for children. Always use personal protective equipment and keep your workspace clean.
Troubleshooting Connection Issues
Cable Fit Problems
Sometimes, the connectors do not fit on your pcb. This can happen if you do not handle the cable carefully. Pulling, twisting, or dragging the cable can make it hard to connect. Always use the instructions from the manufacturer. Do not pull or drag the cable. This keeps the connectors safe and stops them from twisting.
Try these ideas to fix fit problems without breaking anything:
- Leave a little extra cable near the connectors. This helps stop pulling from hurting the cable.
- Use bigger pads and stiff parts at the ends. These help spread out the force on the connectors.
- Put strong glue around where the cable ends. This lowers the stress on the connectors.
- Cover the end area with heat shrink tubing or a shield. This protects the connectors from getting scratched.
Tip: If the cable is hard to push in, stop and check if it lines up right. Pushing too hard can break the connectors forever.
Connection Reliability
Good connections help your device work well. Most problems happen if the cable is put in wrong or if the cable is bad. Make sure the side with wires showing on the ffc cable faces down when you connect it to the mainboard or extension board. Some cables have mistakes from the factory. These mistakes can make the connectors not work, even if the cable worked before. You might see things like the limit switch not working or the device not turning on.
You can use different ways to find connection problems. Here is a table to help you pick the best way:
| Diagnostic Method | Description |
|---|---|
| Visual Inspection | Look for cracks, peeling, or things stuck on connectors. |
| Manual Visual Inspection | Use your eyes or a magnifier to find scratches or bad solder. |
| Automated Optical Inspection | Use cameras to spot connectors that are not lined up or bad solder joints. |
| Electrical Testing | Check for open or short circuits in the connectors. |
| Continuity Test | Make sure all connectors have working electrical paths. |
| Isolation Test | Check that connectors do not have unwanted links between layers. |
Clean, check, and test your connectors often to keep them working. Wipe off dust or dirt from the connectors and cables. Look for any damage or worn spots. Test the connectors to see if they work right.
Preventing Damage
You can stop damage to connectors by following some easy rules. The most common damage is torn connectors, broken metal teeth, or things stuck in the way. To avoid these, always use the manufacturer’s rules and best ways. Do not bend, twist, or pull the connectors too much. Hold the connectors steady when you put them in and use cable covers or guards. Keep connectors away from sharp things and moving parts.
- Check connectors often and use extra support to lower stress.
- Be gentle with connectors so you do not need repairs.
- Follow the smallest bend size the manufacturer says for the connectors.
Note: If you handle connectors with care and check them often, you can stop expensive repairs and keep your connectors working for a long time. 🛠️
If you follow each step, you can make a strong connection. The table below explains why planning and using the right tools is important for putting in cables:
| Step | Benefit |
|---|---|
| Careful planning | The cable lasts longer |
| Protection measures | You have fewer problems |
| Right tools | The cable works better |
Check the cable’s direction and make sure it locks. Leave some extra cable so it can move easily. Do not bend the cable too much or too sharply. If you notice any damage, get a new cable. Being careful helps your device work well and last a long time.
FAQ
What does the black line on my FFC cable mean?
The black line shows you where to align the cable with the connector slot. Always match this mark with the edge of the connector. This helps you avoid crooked or deep insertion.
Can I reuse an FFC cable after removing it?
You can reuse an FFC cable if it looks clean and undamaged. Check for bent pins, frayed ends, or broken stiffeners. If you see any damage, replace the cable for best results.
How do I know if my FFC connection is secure?
Look for a tight fit and make sure the locking flap or friction holds the cable. Gently tug the cable. If it stays in place and the device works, your connection is secure.
What should I do if my FFC cable does not fit?
Check the orientation and make sure you use the correct connector type. Clean the cable ends and connector slot. If the cable still does not fit, try a new cable or connector.
Is it safe to solder FFC cables without special tools?
You should use a fine-tipped soldering iron, flux, and tweezers for safety. Avoid using large soldering irons or skipping flux. Special tools help you make clean, reliable connections and protect your cable.

